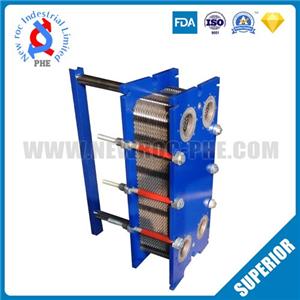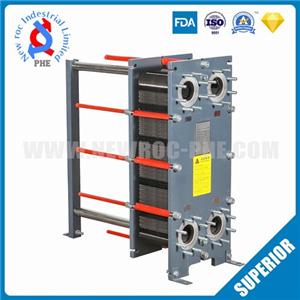
Plate heat exchanger plate assembly
Users who often use plate heat exchangers know that due to the equipment structure and use characteristics, it needs to be cleaned regularly to avoid internal fouling and blockage, which affects the normal use of the equipment. The cleaning equipment sometimes needs to disassemble the plates, so we must install them correctly after cleaning. Today we will take a look at how to correctly assemble the heat exchanger plates.
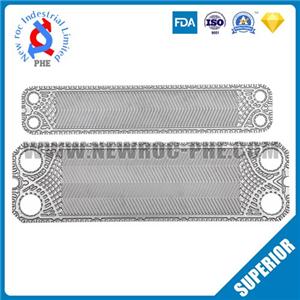
1. According to the angle direction to distinguish the installation, the angle of the heat exchanger plate corrugated is divided into a large angle, a small angle, and a mixture of large and small angles. If the angle of the first plate is upward, the angle of the second plate should be facing Next, follow the principle of counterflow in the plate heat exchanger and increase the medium to achieve turbulent flow.
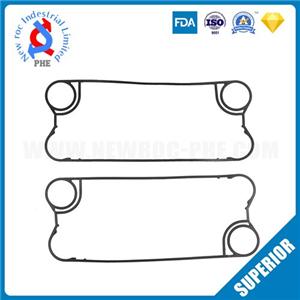
2. Press the heat exchanger gasket in along the sealing groove of the plate and hang and fasten it. Each unit is operated in this way. After the heat exchanger gasket is hung, a second seal is formed on the plate, and the second seal is formed on the plate. One heat exchanger plate is called A plate, and the second heat exchanger plate is called B plate. The principle is that if the second seal of the A plate is on the left, the second seal of the B plate is on the right.
3. Wipe the heat exchanger parts clean. Before bonding the heat exchanger gasket to the groove of the heat exchanger plate, wipe the residual glue in the groove, apply the synthetic resin adhesive to the plate, and then press Into the heat exchanger gasket
4. During the installation process, check the damage of the heat exchanger gasket of the heat exchanger plate. It is necessary to check a heat exchanger plate and install a heat exchanger plate. If the heat exchanger gasket is ignored Inspection and replacement, leakage is very likely to occur during pressure test operation
5. There are more than 160 heat exchanger plates on each plate heat exchanger. On the basis of checking the heat exchanger gasket, multiple people cooperate to install each heat exchanger plate to ensure the heat exchanger plate Installed in place, no leakage
6. The heat exchanger plates should be alternately rotated 180° for stacking, and no wrong installation is allowed. The clamping bolts should be tightened until the length of the plate bundle reaches the calculated value.